IF YOU NEED FURTHER ASSISTANCE, OUR CUSTOMER SERVICE TEAM IS STANDING BY TO HELP.

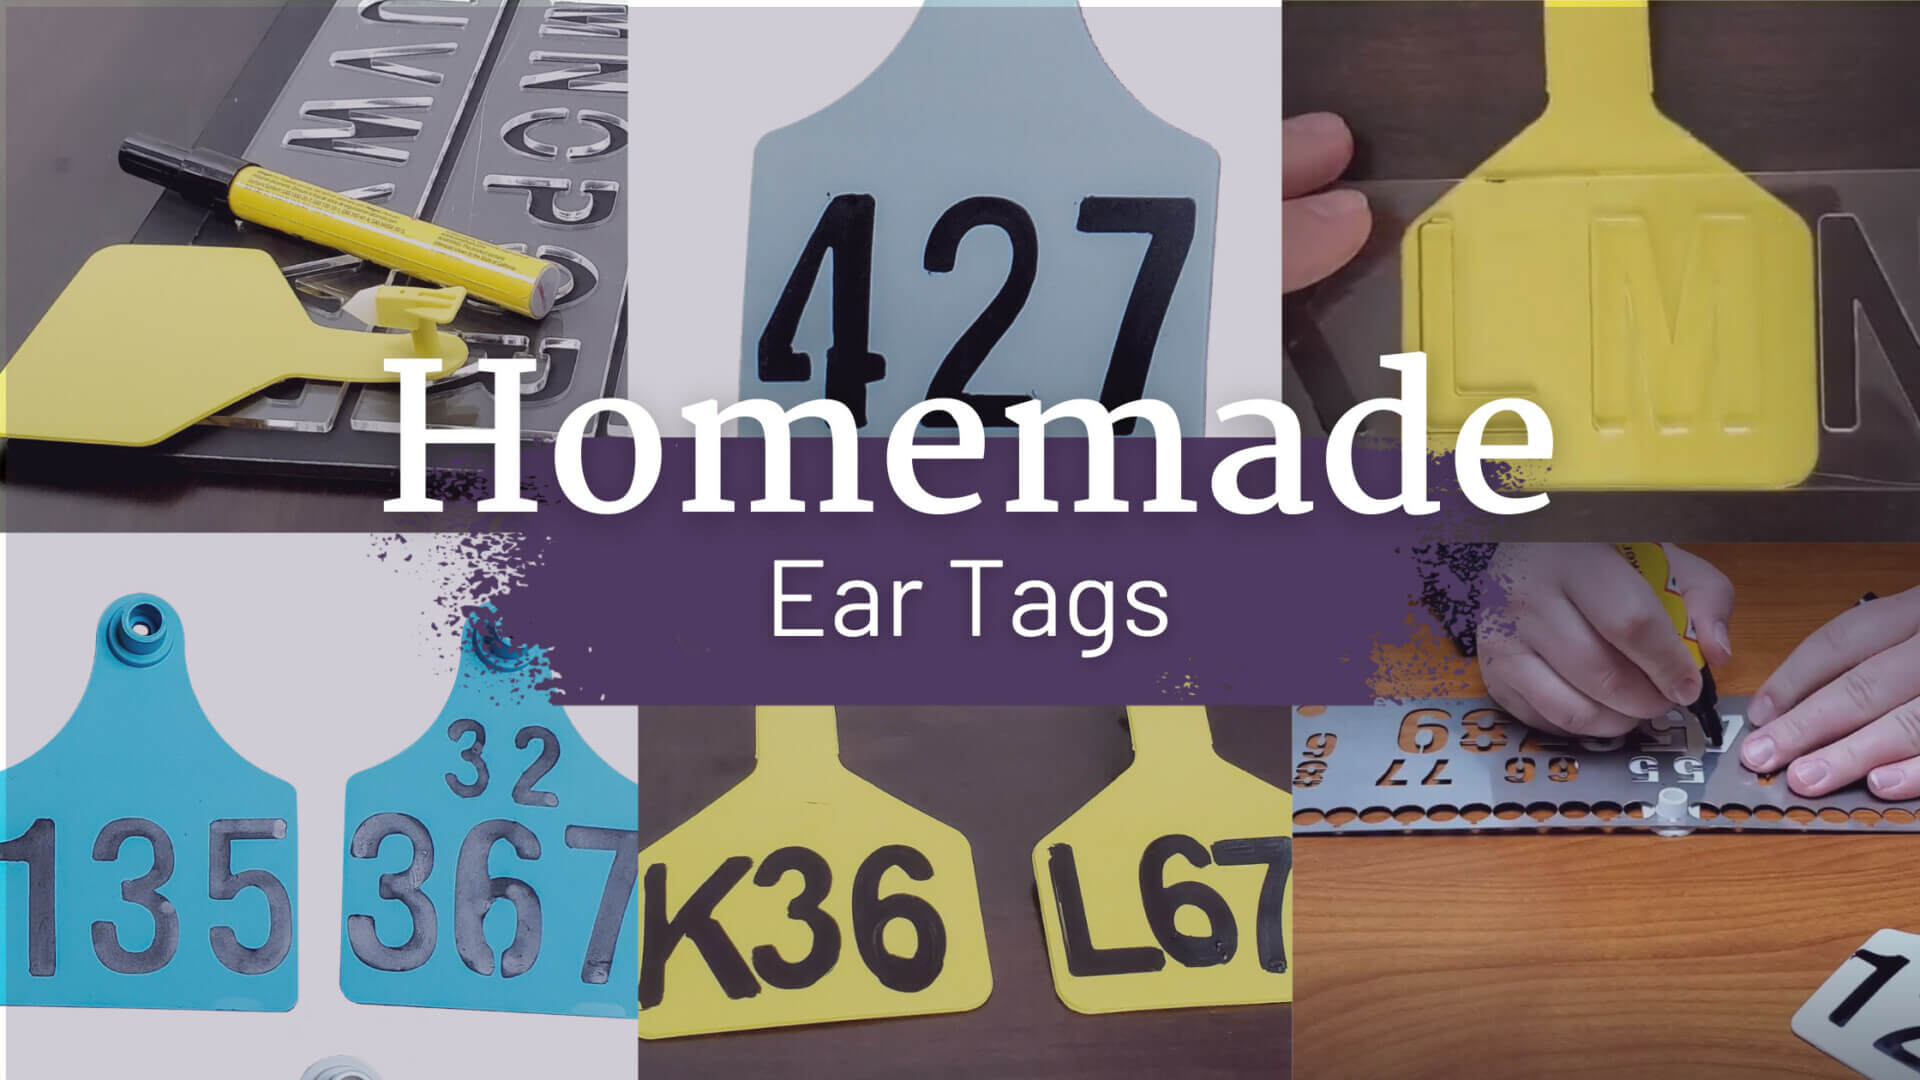
Many people prefer using ink markers to create their own tags. This method is simple, fast, and can include as much customized information as can fit. However, many people find them to be a challenge to read later on. Here’s our top 3 tips to make sure that your tags stay readable for as long as you need them to!
For the short term, regular permanent markers can work great! For longer-lasting tags, ink designed especially for ear tags contains a special acid. which soaks in, embedding itself into the tag and creating a permanent mark. We’ve found that the Z Tag Marker works best, but there are several other options as well!
Handwriting can be hard to read from a distance, especially when it’s made of single stroke of marker. Using a stencil helps to create the bold letters that lasered designs provide. This is great if you still want the flexibility of creating their tags yourself, but would like clear numbering.
After writing your numbers, microwave the tags for a few seconds before applying a second coat. This helps “set” the ink and makes it last longer. Some people suggest doing this 2 or 3 times for the best effect.
Acidic ink, a stencil, and a microwave are all you need to get great, readable, handmade tags every year! For a less spur-of-the-moment system, customized lasered tags are always a great non-fading option as well. What do you prefer?